How to Get An Online Appointment in PSA – Full Guide (2026)
Let’s be real. Nobody enjoys government paperwork. But getting PSA documents doesn’t have to be a nightmare anymore. Here’s the thing. Walk-ins are gone. Completely gone. The PSA doesn’t let anyone through the door without a confirmed online appointment. That policy applies everywhere. Manila. Cebu. Davao.
All outlets nationwide. So yeah. Booking online isn’t just convenient anymore. It’s mandatory. The good part? The whole process is free. Zero pesos to book a slot. Payment only happens when the certificate gets picked up at the outlet.
The entire system runs through the official psa online appointment portal. That’s the only real website for this. Everything else is either a third-party guide or someone trying to charge fake booking fees. This guide covers every single step. No extra stories. No fluff. Just straight answers that actually work in 2026.
What Is This PSA Online Appointment
A reservation system. Pick a date. Pick a time. Show up. Get the document. Leave. Before this, people lined up at 3 or 4 in the morning. Some waited five hours. Some never got served. The office would just close and send everyone home.
That doesn’t happen anymore.
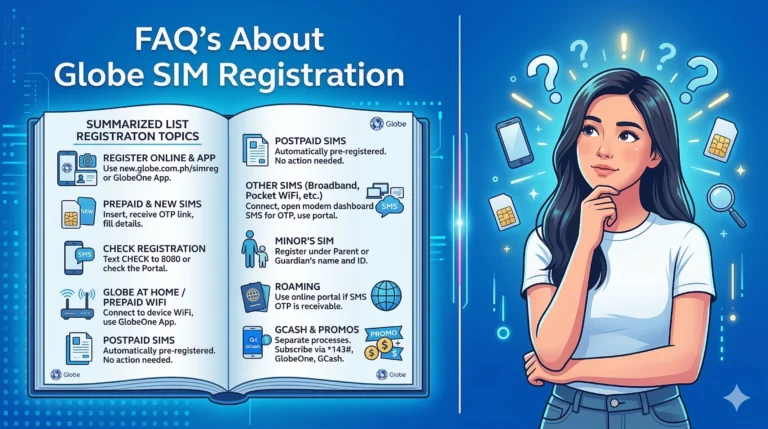
Handles birth certificates, marriage certificates, death certificates, CENOMAR, and CENODEATH.Booking costs nothing. Anyone asking for money to reserve a slot is not on the official government website.
The Complete Step-by-Step Process
Follow these exactly. No skipping. No shortcuts.
Step 1: Open the correct website
- Type appointment.psa.gov.ph into the browser address bar. Not Google search. The address bar. Bookmark this address after reaching the site. Several fake sites show up in search results asking for credit card information. Those are not official.
Step 2: Click Book Appointment
- Scroll down the homepage. A blue button says “Book Appointment.” Click it.
Step 3: Accept the Privacy Notice
- A window pops up with the Data Privacy Notice. Read it if wanted. Then click “I Agree” to move forward.
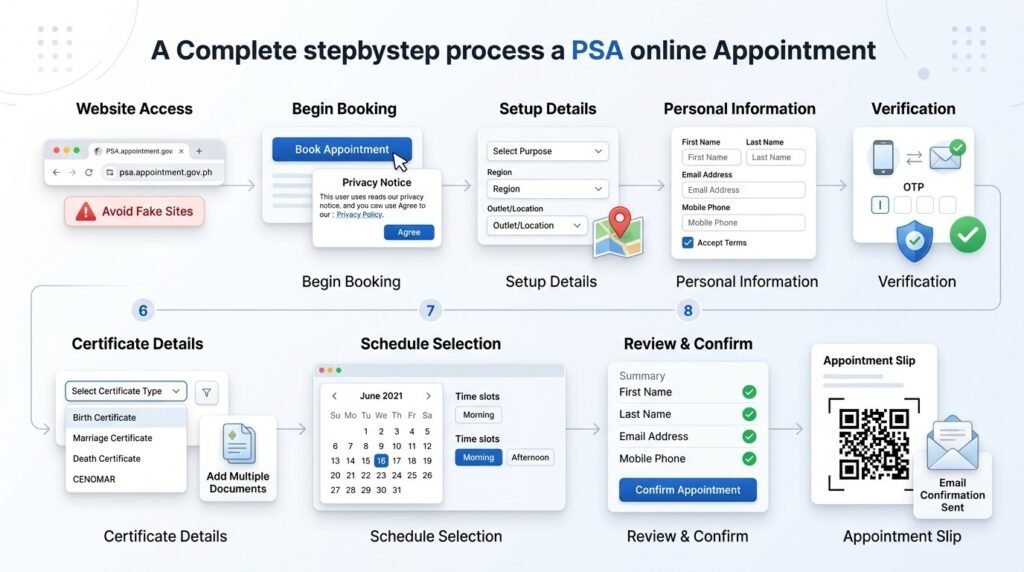
Step 4: Read reminders, then proceed
- Another screen shows important reminders. Read through them. Then click the “Next” button at the bottom right corner.
Step 5: Select the purpose
- A dropdown menu asks for the purpose of the appointment. Pick the option that matches why the certificate is needed. Click “Next” after selecting.
Step 6: Choose region and outlet
- The first dropdown is for the region. Pick the correct one. A second dropdown appears right after. That one lists all PSA CRS outlets in that region. Select the nearest or most convenient branch.
- The address shows up with a small map. Scroll down to see available services, fees, and processing time for that specific outlet. Then click “Next.”
Step 7: Fill in personal information
- Enter first name, middle name, last name, email address, and mobile number.
- Important. The name must match the government ID exactly. Middle initial instead of full middle name? That causes problems. Use exactly what appears on the ID.
- Check the small agreement box at the bottom. Then click “Next.”
Step 8: Enter the OTP verification code
- A 6-digit code gets sent to both the email address and mobile number. Check both. Enter the code in the field on the screen. Click “Verify.”
- Code doesn’t arrive within two minutes? Click the resend button. Still nothing? Check your spam folder for the email. For text messages, make sure the phone has a signal.
Step 9: Enter certificate details
- Select the certificate type from the dropdown. Birth. Marriage. Death. CENOMAR. CENODEATH.
- Select the relationship to the person on the certificate. Self. Parent. Child. Spouse. Representative. Whatever applies.
- Enter the full name of the person whose certificate is being requested. Spell everything correctly.
- Need more than one certificate? Click “Add Another Certificate” before moving on. Multiple certificates can be requested in one appointment.
Step 10: Pick a date
- A calendar appears on screen. Dates highlighted in blue are available. Dates in gray are already full or closed. Click any blue date that works with the schedule.
Step 11: Pick a time
- After selecting the date, available time slots show up. Morning slots run 8 AM to 12 PM. Afternoon slots run 1 PM to 5 PM.
- Each slot shows how full it is. Click any time button that still has space.
Step 12: Review everything before confirming
- A summary screen shows all the details. Name. Selected outlet. Outlet address. Appointment date. Appointment time. Certificate type. Contact information.
- Check every single field. Mistakes found now can still be fixed by going back. Mistakes found after confirmation require canceling the whole appointment and starting over.
- Once everything looks correct, click the “Confirm” button.
Step 13: Appointment confirmation
- A confirmation message appears on the screen. An email also gets sent to the registered address. That email contains the appointment details and a link to the appointment slip.
- No email within five minutes? Check the spam or junk folder. Still nothing? The slot probably didn’t save correctly. Start over from the beginning and rebook.
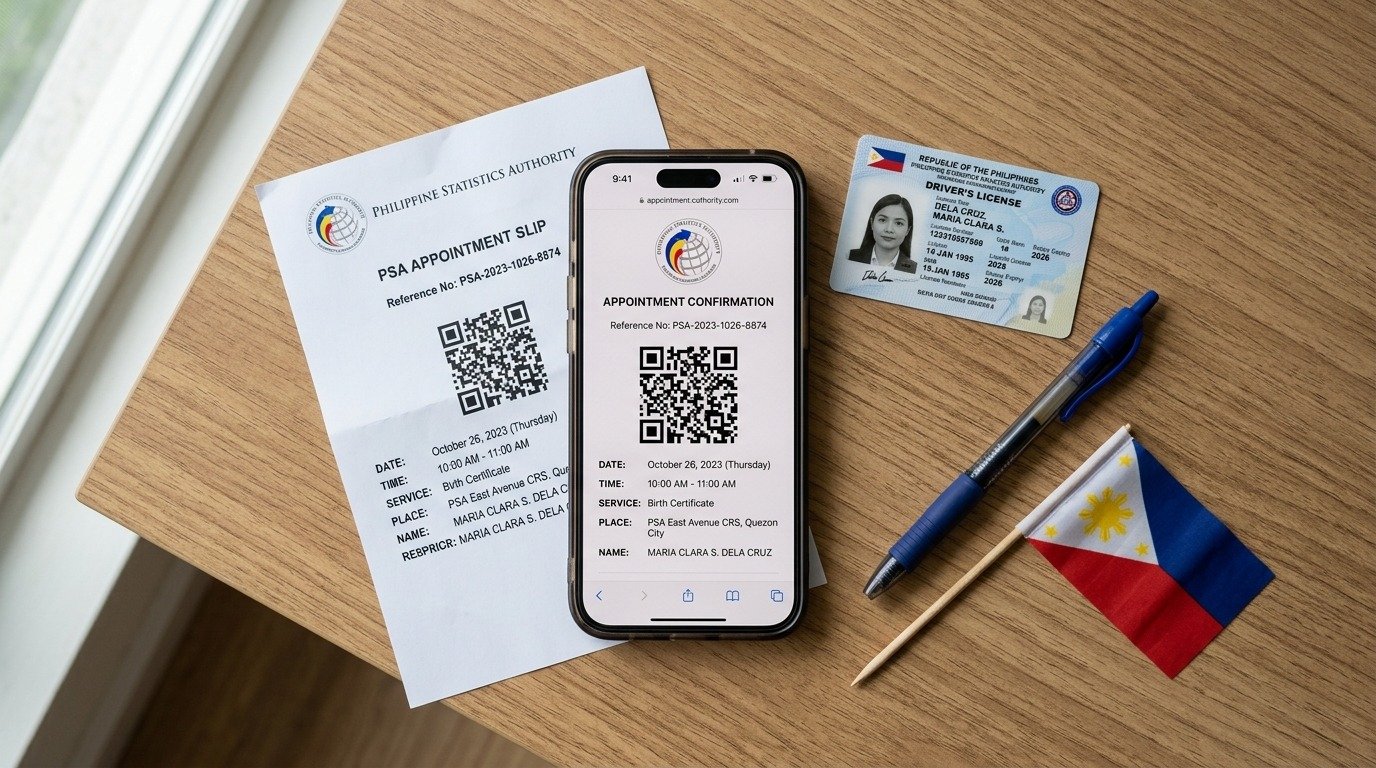
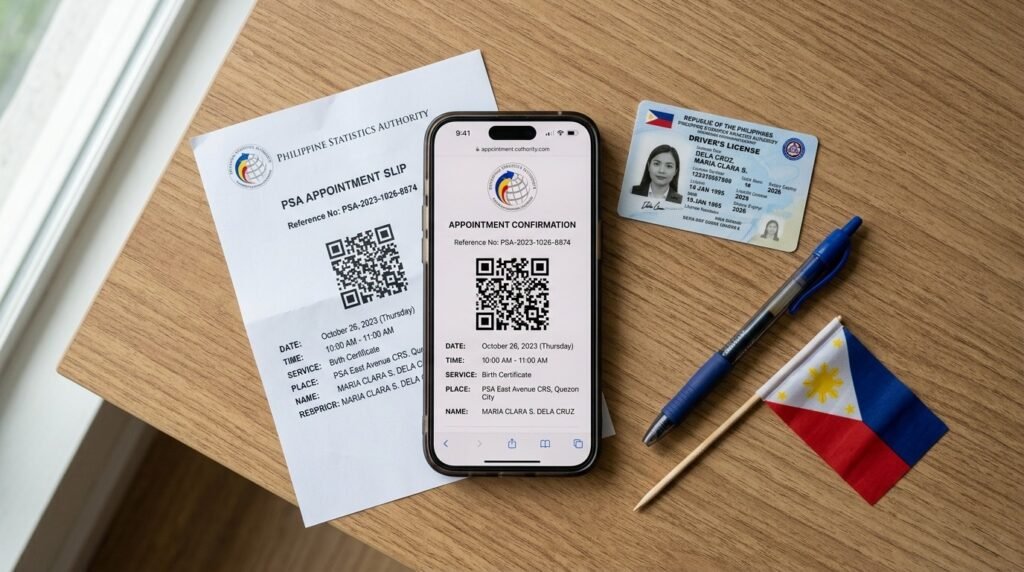
Step 14: Save the appointment slip
- The Civil Registration Service Appointment Slip gets generated. It contains a QR code plus all appointment details.
- Click “Print Appointment Form” to print a physical copy. Also, take a screenshot on the phone. Save the email somewhere easy to find. That QR code is the entry pass. No QR code. No entry.
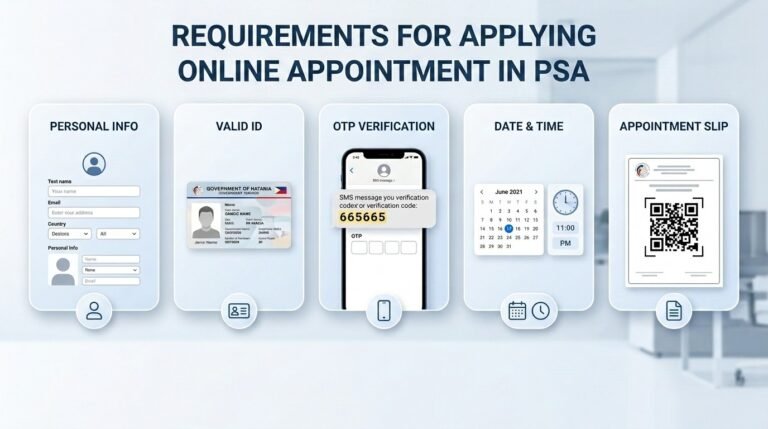
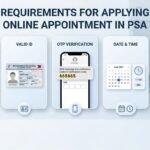
What to Prepare Before Booking
Don’t start without these things. Seriously. Have them ready first.
A working email address. The system sends the OTP code here. Also sends the confirmation slip. Use an email that gets checked regularly.
An active mobile number. The OTP code also goes here via text. Prepaid or postpaid. Doesn’t matter as long as it receives messages.
One valid government ID. Passport. Driver’s license. UMID. PhilSys National ID. Voter’s ID. PRC ID. Any of those work. The name on the ID must match exactly what gets typed into the form.
The full name of the person whose certificate is needed. Seems obvious but a lot of people mess this up. Get the spelling right. One wrong letter causes problems later.
A preferred PSA outlet in mind. Check which branch is nearest or which one usually has open slots. Metro Manila branches fill the fastest. Provincial branches often have more availability.
Booking for someone else? I need more documents. A signed PSA authorization letter from the document owner. A photocopy of that person’s valid ID. Plus the representative’s own valid ID.
One representative can only handle two unrelated individuals per appointment. That’s the maximum. No exceptions.
Minors cannot book appointments. An adult must book on their behalf and accompany them to the outlet.
Official Certificate Fees
Payment happens at the PSA outlet. Not online. Not in advance. Bring cash on the appointment day.
Birth certificate: ₱155 per copy
Marriage certificate: ₱155 per copy
Death certificate: ₱155 per copy
CENOMAR (Certificate of No Marriage Record): ₱210 per copy
CENODEATH (Certificate of No Death Registration): ₱210 per copy
That’s all. No hidden fees. No processing charges. No booking fees.
Any website asking for money just to schedule an appointment is a third-party service. The official government portal charges absolutely nothing to book a slot.
What to Bring on Appointment Day
Show up unprepared and get sent home. Bring these things.
For the person named on the certificate:
- Appointment slip with the QR code (printed or on phone)
- One valid government ID (original, not a photo)
- Exact cash for the certificate fee
- Filled-out application form (available at the outlet, but downloading ahead saves time)
For an authorized representative (booking for someone else):
Everything from the list above for the document owner. Plus:
- Signed PSA authorization letter from the document owner
- A photocopy of the document owner’s valid ID
- The representative’s own valid ID
Arrive at least fifteen minutes before the scheduled time. Late arrivals are not accommodated. The slot gets forfeited.
Frequently Asked Questions
Q1: Can an appointment be rescheduled?
No. The portal has no reschedule option. Cancel the existing appointment and book a new one from scratch.
Q2: What happens after missing an appointment?
The slot gets forfeited. No refunds (nothing was paid anyway). No grace period. Just book another slot.
Q3: Can a minor book their own appointment?
No. An adult must book on behalf of any minor and accompany them to the PSA outlet.
Q4: Can an OFW abroad book an appointment?
No. The portal requires a Philippine mobile number for OTP verification. OFWs need to authorize a family member in the Philippines to book and claim the certificate.
Q5: Do senior citizens and PWDs need an appointment?
Yes. The appointment requirement applies to everyone. Priority lanes exist at all PSA outlets. Just show the senior citizen or PWD ID upon arrival.
Final Reminders
No appointment. No entry. That’s the rule everywhere. Booking costs zero pesos. Anyone asking for a booking fee is running a scam. Save the QR code. Bring a valid ID. Show up on time. The whole process takes about ten minutes. Do it right and walk out with the needed certificate on the scheduled date. That’s the full guide. Go book the slot.